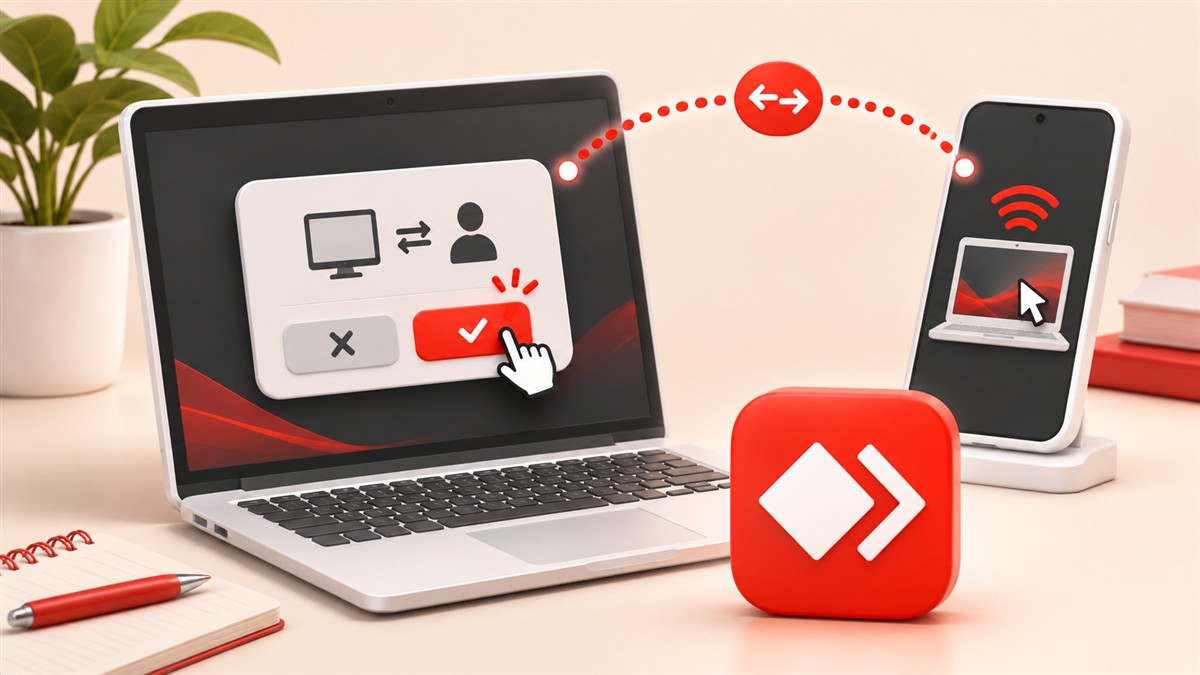
The AnyDesk app lets you see and, with permission, control another device as if you were sitting in front of it. If you've never used remote desktop software before, the ideas are simple once you know the terms. This guide explains them, then walks through your first session.
Three terms to know
- AnyDesk address: the number or alias that identifies a device running AnyDesk. It's shown in the main window.
- Local device: the one you're sitting at.
- Remote device: the one you want to see or control.
Get AnyDesk on both devices
Both devices need AnyDesk. On a Windows PC, download the installer from our download section and run it. It works straight away without installation. Other systems such as macOS, Linux, Android and iOS have their own AnyDesk apps from the developer. For setup details see the Windows 10 and Mac guides.
Start a session
- On the remote device, open AnyDesk and read out its address to the person helping, or send it to them.
- On the local device, type that address into the remote address field and start the connection.
- On the remote device, a request window appears. The person there checks who is connecting and selects Accept.
The remote screen now appears in a window or tab on the local device.
Choose permissions before accepting
The request window includes switches for things like keyboard and mouse control, clipboard, file transfer, sound and restarting the device. Leave on only what the session needs. For example, someone who only needs to see a problem doesn't need keyboard control.
Useful things during a session
- Switch monitors if the remote PC has more than one screen.
- Change view quality to favour speed on slow connections.
- Transfer files using the file transfer option (if permitted).
- Chat with the other person using the session chat.
- Use the address book to save devices you connect to often.
Some features depend on your platform and AnyDesk licence.
End the session properly
Either side can end the session at any time. On the remote device, use the disconnect button in the AnyDesk session window. When the work is done, always end the session. Don't leave it open.
Reaching your own devices
To reach your own PC when nobody is in front of it, install AnyDesk there and set up unattended access with a strong password. Add two-factor authentication and an access control list for extra safety.
Personal use vs work use
AnyDesk's free version is for personal, non-commercial use, such as helping family or reaching your own computer. Using it for paid support or other business purposes needs a commercial licence from the developer.
Plan a simple first practice session
Choose a time when both people can concentrate and keep another way to communicate available, such as a phone call. Start with an ordinary task that does not involve private accounts or important system changes. Opening a text editor and typing a short sentence is enough to confirm that the screen, pointer and keyboard work. Explain which computer is local and which is remote so both people understand whose applications are being opened and whose files are being changed.
Before sharing the screen, close unrelated documents, messages and browser tabs. Ask the helper to describe the intended steps. If you are receiving support, stay near the computer during an attended session and watch what happens. You do not need to hand over every permission simply because somebody is helping you. Agree on the task, approve the capabilities it needs and stop if the session moves into something you did not discuss.
Know what accepting a request means
An AnyDesk address identifies a device; it is not proof that a person requesting access is trustworthy. Confirm the helper's identity through the conversation or appointment you arranged. Read the incoming request instead of accepting automatically. If the device receives an unexpected connection attempt, decline it and check with the person you intended to contact. There is no need to keep an unfamiliar session open while trying to establish who is on the other end.
Permissions should reflect the work being done. Viewing is useful for showing an error. Input control allows the helper to interact with applications. Clipboard and file access should be enabled only when needed. If the task changes, discuss the new requirement before widening access. This makes the session easier to follow and gives the person receiving support a practical understanding of what each permission allows, rather than treating the request window as a formality.
Transfer files with a clear destination
Before sending a file, confirm its name, purpose and receiving folder. Begin with a small non-sensitive document if you have not used the transfer feature before. Check that it arrived and can be opened. Avoid transferring an entire folder merely because selecting everything is convenient. The folder may contain personal information or duplicate documents that are unrelated to the support task. Keep the original until the receiver has confirmed that the correct version is available.
When moving files between different operating systems, check the file format as well as the transfer result. A document can arrive successfully but require an application that is not installed on the destination computer. File paths and keyboard shortcuts may also look different. Describe the intended action in plain language instead of assuming that a Windows instruction maps directly to a Mac or phone. If the process becomes confusing, pause and verify the next step together.
Build a routine for reconnecting and finishing
If a connection drops, first ask whether the remote computer is still awake and online. Confirm the address again and check whether somebody needs to accept a new request. Do not repeatedly send requests while the other person is trying to read a system message. If the task involves a restart, save work and agree on how you will reconnect. Keeping a local person available makes the first few sessions easier to recover when something unexpected happens.
At the end, test the original problem yourself and ask the helper to explain the main changes. End the remote session explicitly, close any temporary files and review permissions that were added for the appointment. If unattended access was not part of the plan, confirm that it has not been left enabled for convenience. Keep a short note of useful instructions so you can repeat straightforward tasks separately without starting another remote session.
Conclusion
Learning the AnyDesk app is easiest when you begin with a small, attended task and understand each stage of the connection. Verify the person, check the device address, choose permissions and test viewing before doing sensitive work. Transfer only the files you intend to share, and agree on a recovery plan before restarting. Finish by checking the result and disconnecting clearly. These habits make remote support understandable for beginners and more predictable for the people helping them.